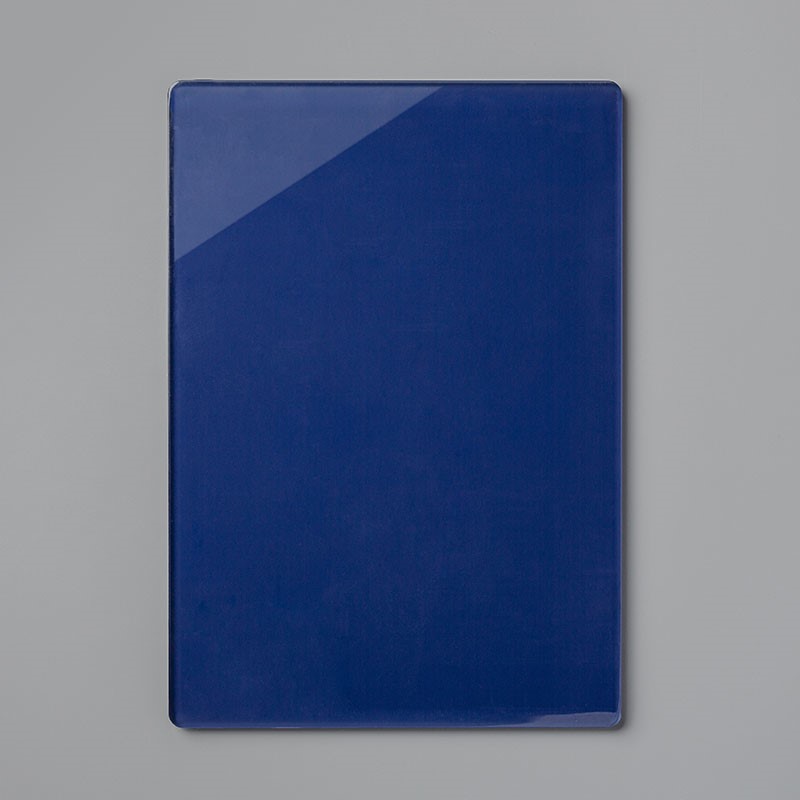
Learn how to use the new Dies and learn about the new 3D Embossing Folder Plate.
Hey all, here is some information regarding the new style of Stampin’ Up! Dies and the new 3D Embossing Folder Plate designed to work with our new 3D Embossing Folders, which are thinner than our old-style Dynamic folders. The 3D Embossing Folder Plate adds a little more oomph to your die sandwich to make those 3D designs pop.
The new plate makes up the difference in measurement between our old-style Dynamic Folders and our new-style 3D Folders in 21 mm gap machines (similar to the machine we used to offer). The 3D Embossing Folder Plate replaces the Standard Cutting Pads in your 3D embossing folder sandwich for continued high-quality emboss results.
To create your emboss sandwich:
- Use a die-cutting & embossing machine platform as a base; no matter which machine you’re using, use the standard platform which comes with your machine.
- Use the 3D Embossing Folder with your paper in the middle.
- Then use the 3D Embossing Folder Plate on top.
Given the differences in machines and platforms, you may still have to add a shim to get your desired embossing results. (You can also spritz your paper before embossing to maximize your embossed impressions.)
Without the new 3D Embossing Folder Plate, you will need to use several shims with the Standard Cutting Pad in your 3D embossing folder sandwich, depending on the die-cutting & embossing machine you use. Most machines will need between three to five sheets of cardstock to shim. Please be careful in how you shim; start out with fewer sheets first, then add sheets to get your desired results. Stampin’ Up! will not be responsible to replace products broken due to using a sandwich which is too thick for a machine.
Since we’re using a new supplier for our dies and embossing folders, they’ll be manufactured differently, which means the way you use them will be a little different. We’ll highlight a few of the changes between the old-style and new-style products below. In the future, we’ll also provide videos to show how to craft with the new-style dies and embossing folders and better showcase the features described below.
We’re confident the new-style products will continue to uphold our high-quality standards and that you’ll be happy with your crafting results using the new style.
Old Style Die Alignment
New Style Die Alignment
Here are some of the changes you’ll notice with our new-style dies and embossing folders:
- Our new-style open dies (those that coordinate with stamps) use a high quality metal that’s thinner than before but still as strong and durable.
- The new-style dies have an added lip to the inside of the blades.
- On old-style dies, when you place an open die (dies that coordinate with stamps) over a stamped image, a small border of cardstock is visible around the stamped image. With new-style dies, the die hugs the edge of the stamped image. Instead of aligning the die to the space around the stamped image, you will align it to the edges of the stamped image. When the image is cut, there will still be a cardstock border around the image


