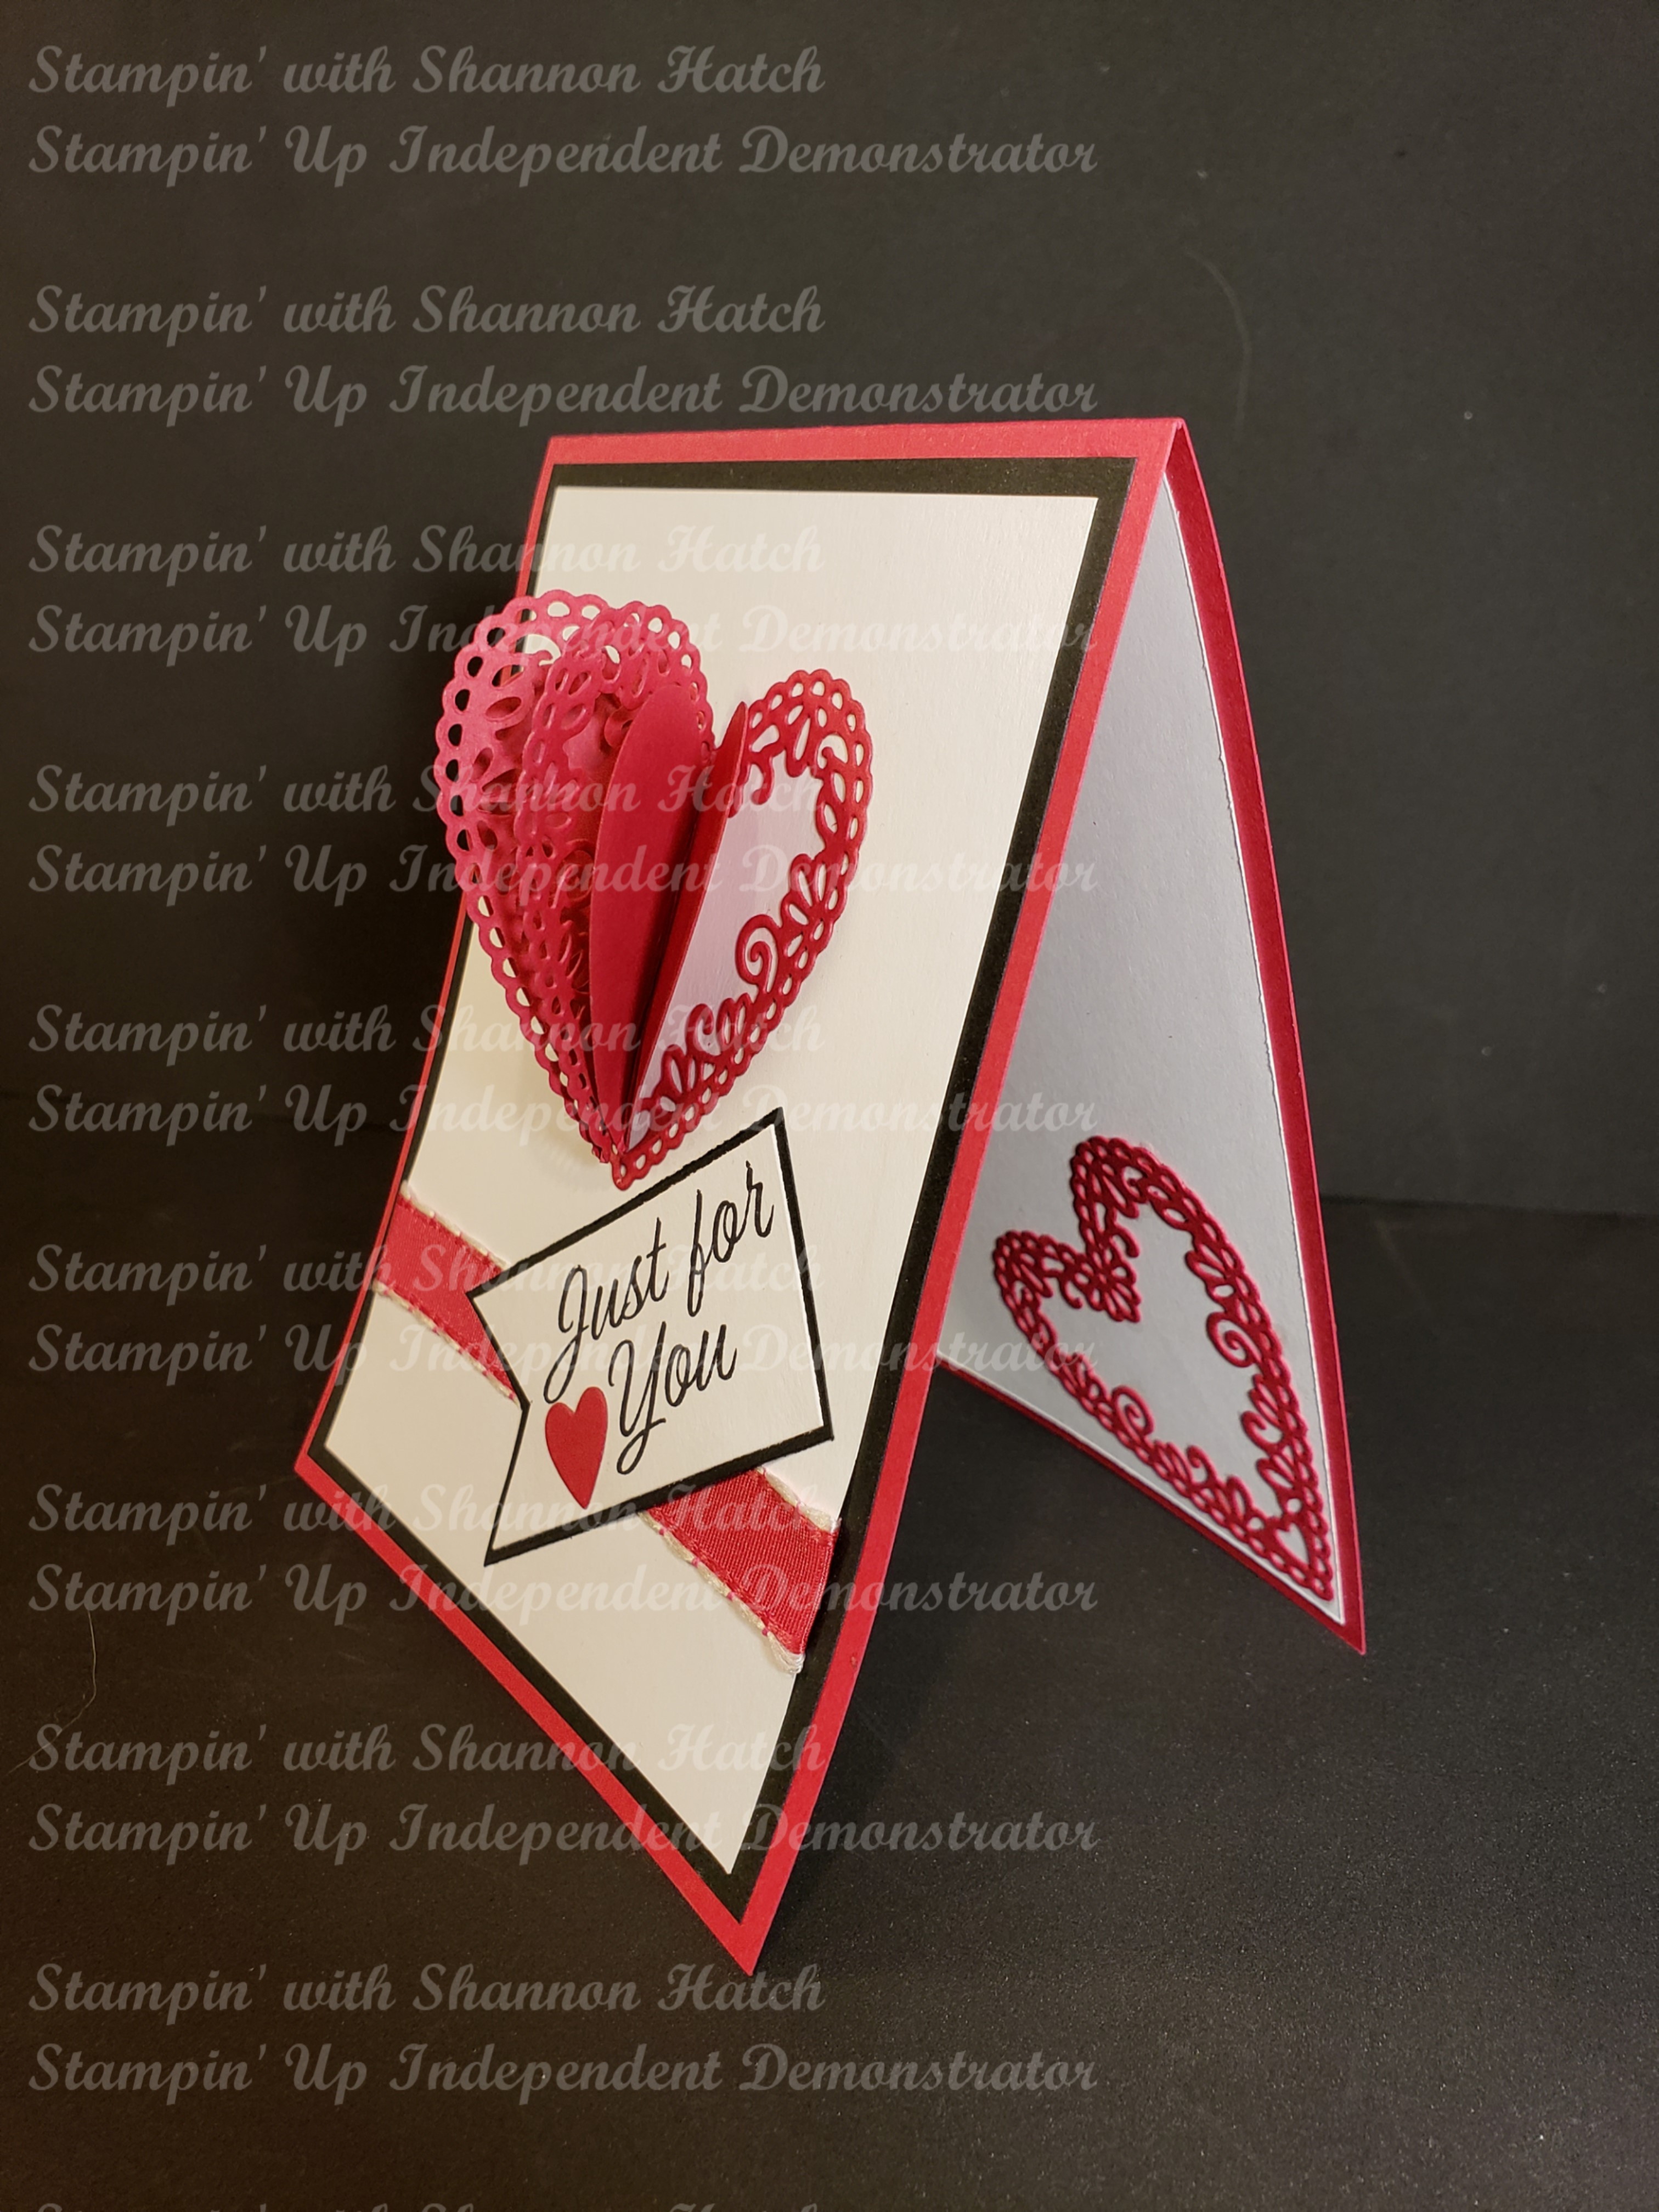
Love is in the air

3D red heart using Meant to Be stamp set and the Be Mine Stitched Framelits Dies
Lovely Lipstick Cardstock cut to 4-1/4″ x 11″. Scored at 5-1/2″.
Basic Black Panel cut to 5-1/4″ x 4″ another piece for the banner cut to 2-1/2″ x 1’1/4″
Whisper White cardstock panel cut to
3-3/4″ x 5″; another panel cut to 5-1/4″ x 4″ and another piece for the banner cut to 2-3/8″ x 1-1/8″.
Working first on the Whisper White panel, use some Lovely Lipstick cardstock with the Be Mine Stitched Framelit Dies to cut 5 hearts and the Lacey heart die. This card uses 3 of the flowery heart die shapes and two of the center portion of the scalloped stitched heart of similar size and shape.
Score the two plain heart centers right down the center from tip to tip. Fold each one along the score line. The flowery heart diecut shape can also be carefully scored right down the middle or simply, but carefully, finger folded down the middle. With all 3 hearts folded, glue the folded edges together. First the 2 folded solid hearts with folded edges side by side, Hold together for a second or two for the glue to bond. Next put dots of liquid glue on the flowery diecut heart folded sections and attach to the folded edges of the 2 folded solid hearts. Hold together for a second or two for glue to adhere. Using a clothes pin or paper clip hold the center heart and top “flaps” of the 2 solid hearts together to dry completely. In the mean time, adhere your second flowery heart diecut to your Whisper White panel. Then attach a 6″ piece of Lovely Lipstick ribbon to panel, wrapping ends around panel and attaching with glue or snail to the back of the panel.
On the smaller Whisper White piece stamp the sentiment “Just for You” from the Meant To Be Stamp set in black ink. Place the stamped sentiment closer to one side so the notch can be cut out from the other end. The small red heart comes from the lacey heart die cut in the Be Mine Stitched Framelits Dies. Several sizes come from that die, use as many as you would like. Once the Whisper White tag with sentiment, heart and notch is completed, center and adhere it to the small Basic Black carstock piece. Notch the Basic Black to outline the Whisper White evenly. Set the completed sentiment to the side. Turning to the inside of the card, adhere the larger Whisper White Cardstock panel with snail or liquid glue to the center of the card. Adhere the final flowery heart die cut to the lower corner of the interior white panel.
Returning to the front panel, where the first flowery heart die cut was attached, apply a line of liquid glue down the center from tip to tip, take the 3 hearts glued together previously and set the folded edges into the liquid glue. Hold in place for a second or two for all the edges to connect. Let the glue finish drying.
Viola! Card Complete.
Product List


 Grosgrain Ribbon")


